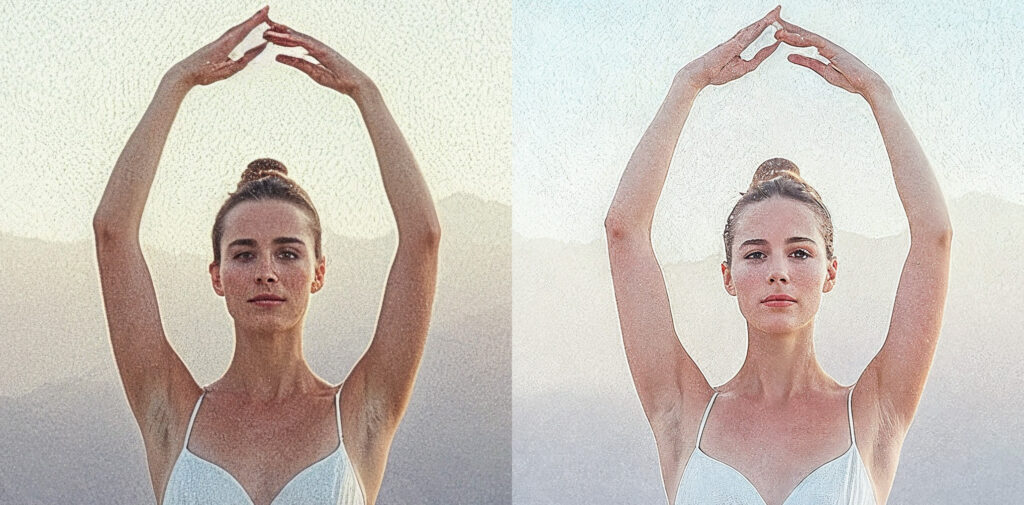
Goal: squeeze more believable micro‑detail out of low‑res AI images or rough renders—without turning them into wax or noise.
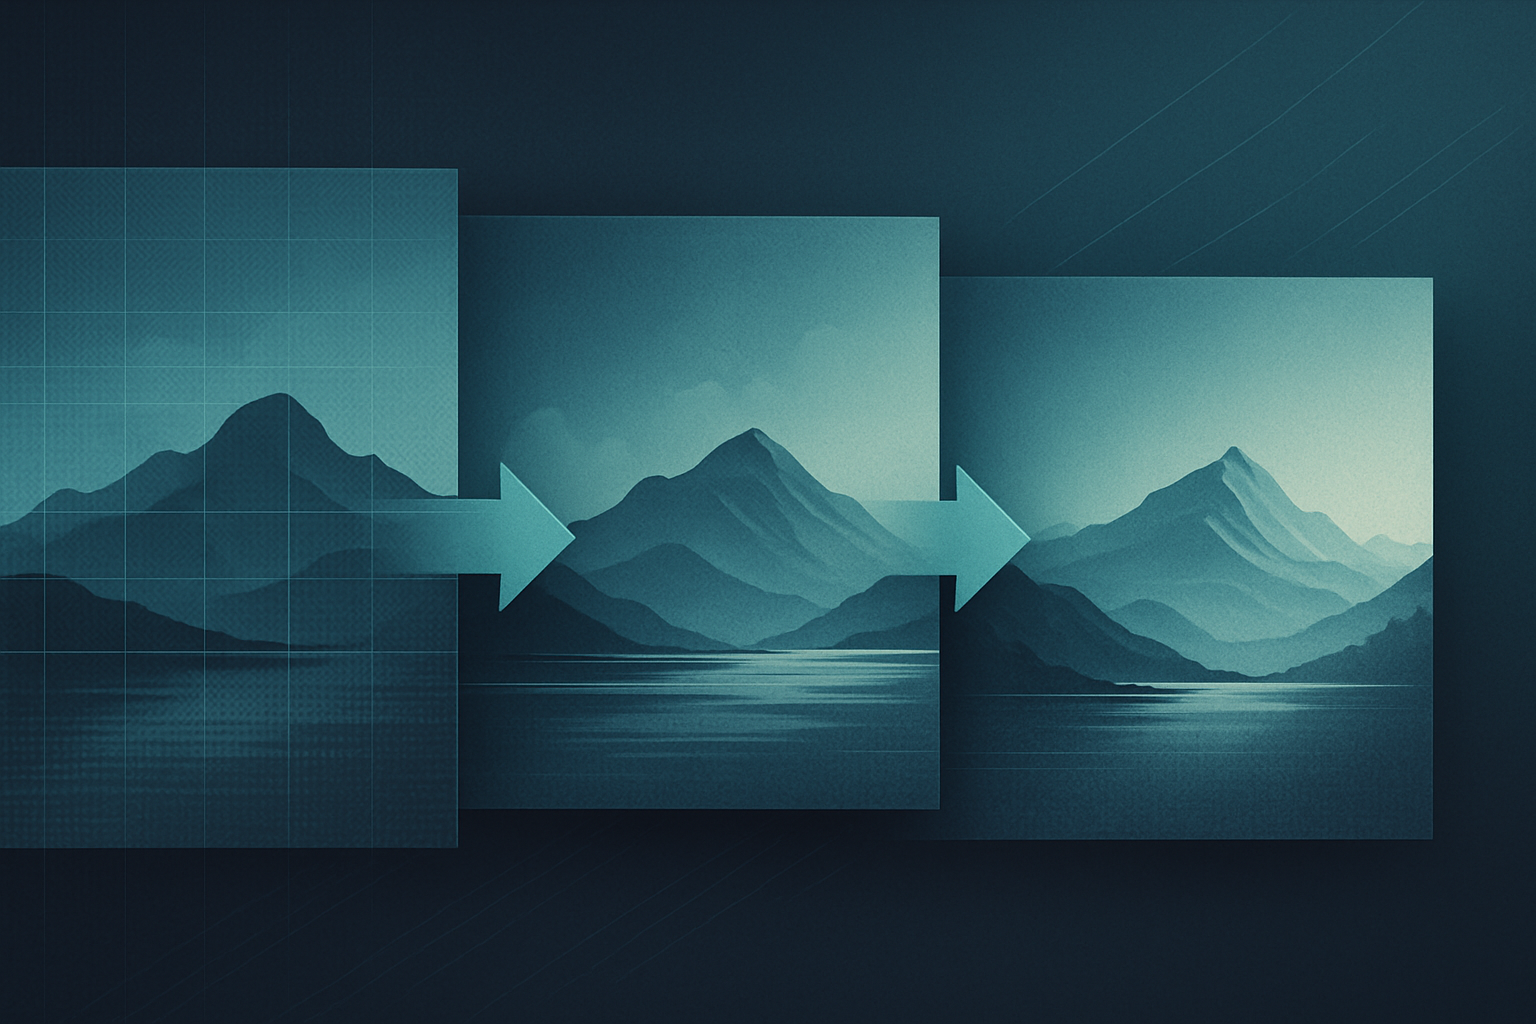
The idea: run a creative upscale to invent detail, then downscale to ~50%, and repeat. Each cycle harvests useful texture while the downscale step prunes artifacts and stabilizes shapes.
When to use it
- Low‑res AI generations that look plasticky.
- Fast 3D previs / clay renders you’ll refine into “finished art.”
- Vintage scans that need texture without gritty noise.
6‑step loop
- Start clean
Open your source at native size. Fix obvious issues (banding, halos) before you upscale. - Creative upscale #1
Use a creative upscaler (e.g., Magnific, Topaz Bloom) to add fine structure.- Magnific: Creativity low–medium (1–3), Resemblance ~0.4–0.7 to avoid drift, HDR low if you want less plasticky sheen, Fractality 1–2 for micro‑detail.
- Topaz Bloom: Creativity modest (2–4) to keep form while enriching texture.
- Downscale to ~50%
In Photoshop (Bicubic Sharper) or similar. This trims weird edges, stitches micro‑patterns tighter, and reduces haloing. - Creative upscale #2
Another gentle pass. Keep parameters similar or slightly lower to avoid style drift. If pores/fibers/pixel‑edges start repeating, back off. - Final “clean” pass (optional)
Run a non‑creative upscaler to consolidate edges.- Topaz Gigapixel: Standard/Art & CG; minimal sharpening/denoise.
- Upscayl: R‑ESRGAN 4x+ then downscale to target.
This locks in structure without inventing new forms.
- Blend selectively
If parts went too far, paste your previous cycle above, add a black mask, and paint back original areas (faces, logos). High‑pass or texture‑only layers also work.
Why it works
Creative upscalers are great at inventing plausible detail, but they also introduce “fluff.” The 50% downscale acts like a controlled compactor: it drops the fluff, keeps the believable bits, and readies the image for another safe enrichment pass.
Guardrails
- Stop after 2–3 cycles. Beyond that you risk drift (changed identity) or repetitive tiling.
- Watch key landmarks. Eyes, logos, mechanical seams—keep Resemblance higher or mask these zones.
- Mind the look. Bloom tends to be clean and cohesive; Magnific with higher Fractality can push into gritty/grunge. Pick what suits the piece.
- Name your versions.
filename_c1-up_c1-50_c2-up_giga-final.png—you’ll thank yourself later.
Typical settings that work
- Portraits: Creativity 1–2, Resemblance 0–1, HDR low; final clean pass in Gigapixel.
- Fabric/foliage/architecture: Creativity 2–4, Resemblance 0-1, Fractality 0-1; consider one grittier pass then a clean consolidating pass.
- Line art / posters: Keep creativity low; rely more on the final “clean” pass to avoid fuzzy edges.
Output sizing
Work above your target size during cycles (e.g., 1.5–2×), then downscale to your delivery resolution for extra crispness.
Bottom line: Two or three “invent → compress” loops can transform a flat AI render into a print‑ready image with convincing micro‑detail—without paying a noise or plasticity tax.
Discover more from Arjen Roos Art
Subscribe to get the latest posts sent to your email.